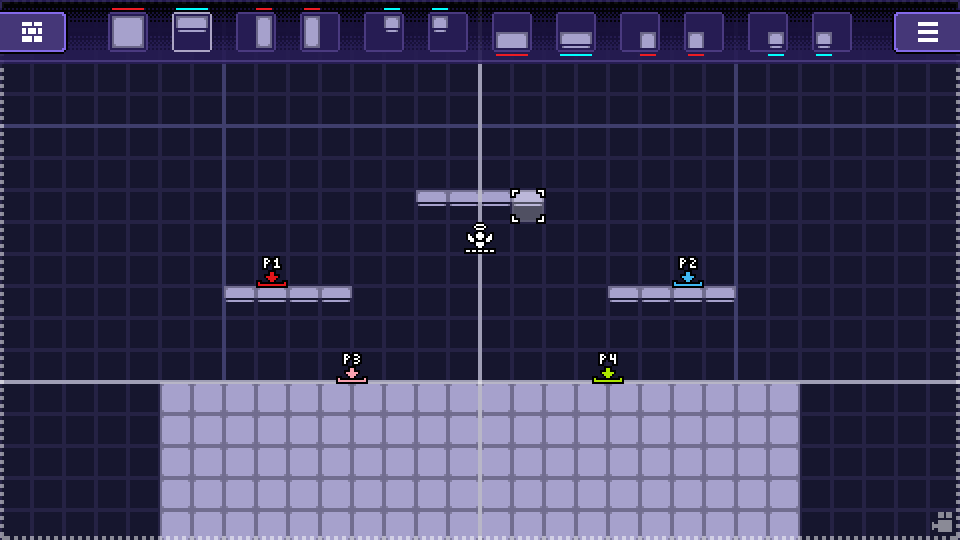
Custom stages can be created directly in the game’s Stage Editor by selecting (+ NEW STAGE) in the Workshop menu. There are two types of custom stages:
- Standard stages – Allows you to use in-game assets to create a tiled stage quickly and easily. Ideal for prototyping your layouts before turning them into a fully-featured Advanced stage.
- Advanced stages – Allows you to skin your creations with custom graphics and more. You can change any Standard stage into an Advanced stage by toggling the setting in the editor’s Stage Parameters menu. Additionally, custom scripting is supported on Advanced stages.

Advanced custom stages are structured similarly to other custom items, with config.ini and the following folders: /sprites and /sounds. You can read more about this structure on the introduction page, use the default blank stage template in the editor program, or reference Bamboo Lodge (our official example for an Advanced Stage).
For Advanced stages, the core stage folder should also include:
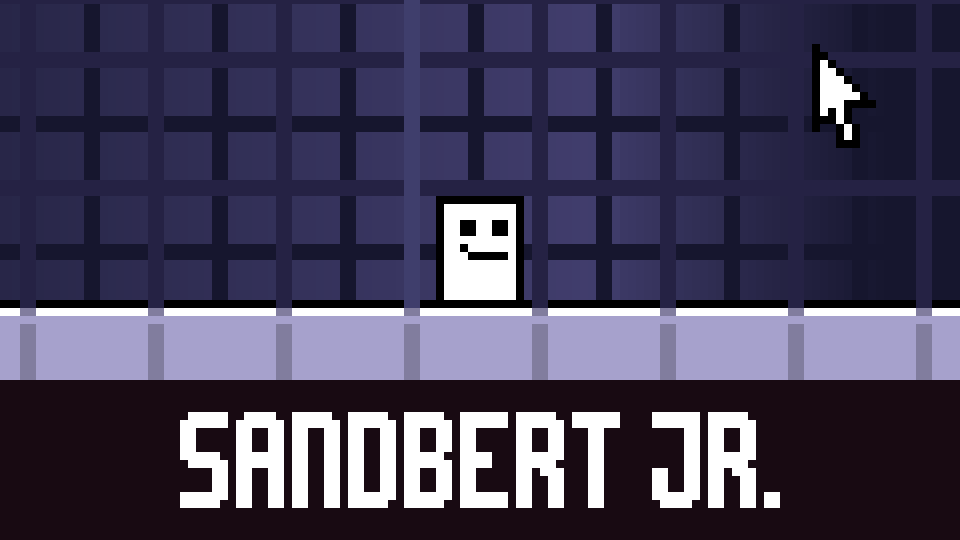
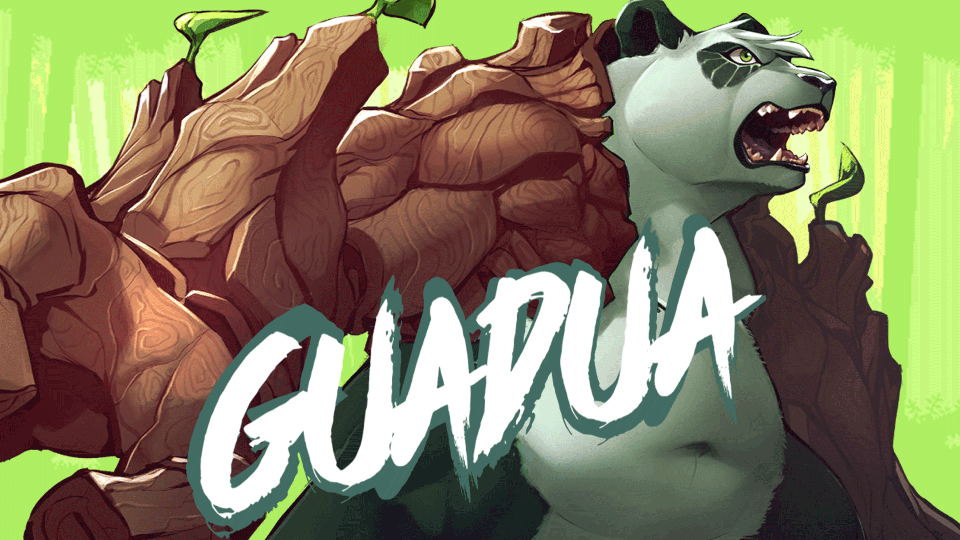
- preview.png [any size, but 16:9 aspect ratio, 960×540 recommended] – used in the preview window on the Steam Workshop website.
- thumb.png [56x40px] – used for the in-game stage select menu.
- thumb_big.png [242x130px] – displayed in the large preview window when hovering over a stage in the stage select menu.
Background Graphics
Advanced stages support a total of 9 image layers including 1 ground layer, 2 foreground (FG) layers, and 6 background (BG) layers.
The image files are automatically detected in the /sprites directory upon loading the stage, using the following naming format: bg#_strip#.png, where “bg#” denotes the layer number and “strip#” denotes the number of animation frames the image contains.
By default, all graphics (aside from ground_strip#.png) are positioned at the absolute center of the stage, but this can be changed by adjusting the Offset X and Offset Y options in the editor’s Stage Parameters menu.
In Aether mode, stages will use image files that have the prefix “a_” if one exists, otherwise using the normal version. For example, you can override the ground layer’s image in aether mode by adding a file named “a_ground.png”.
In order to conserve texture memory and ensure smooth performance, it is recommended that you use smaller background graphics combined with the BG-Tiling option in the editor’s Stage Parameters menu.
Background Music
Custom stages have access to all stage music from the game soundtrack in the editor’s Stage Parameters menu, and also support up to 4 custom tracks like the base stages.
To add a custom track, go to the /sounds directory and add or replace music_loop.ogg with an ogg file of your choice. Additional tracks can also be included under the names music_loop2.ogg, music_loop3.ogg, and music_loop4.ogg.
The game will randomly select one of these ogg files to use as the background music when the stage begins.
Scripting
Visit the stage scripting page to learn more about writing code for Advanced stages.